BEST PRACTICES
ROOF DECK DESIGNS - HARDSCAPES
Author: Jason Buckley, Senior Associate
The design and implementation of roof decks create open space in vertical, urban environments where expansive park-like environments may not be feasible. Roof decks create welcome respite but require extensive planning and coordination for constructability and long-term success.
Overview
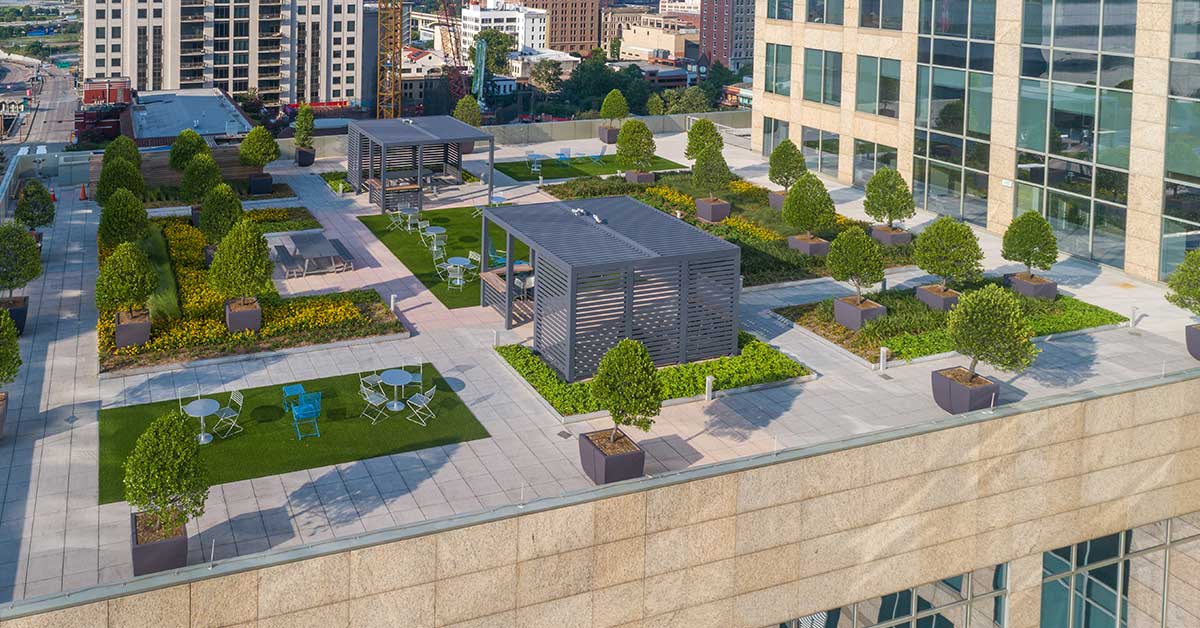
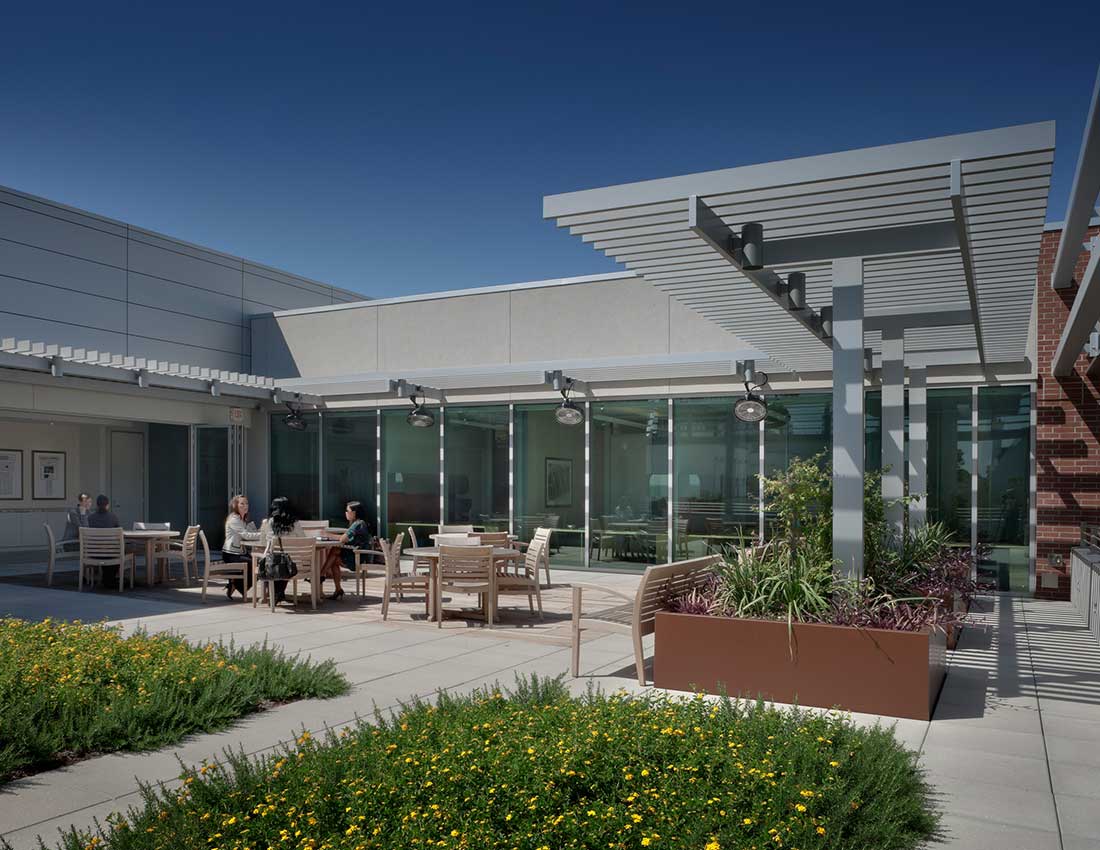
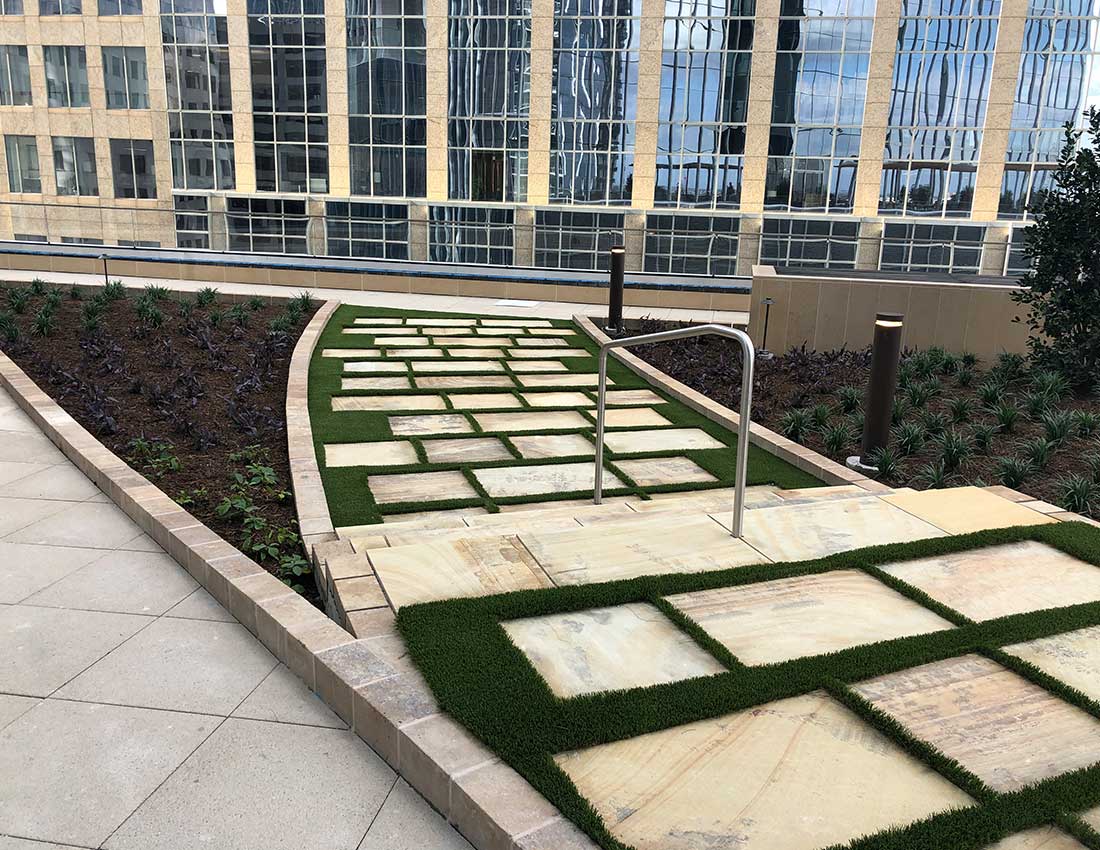
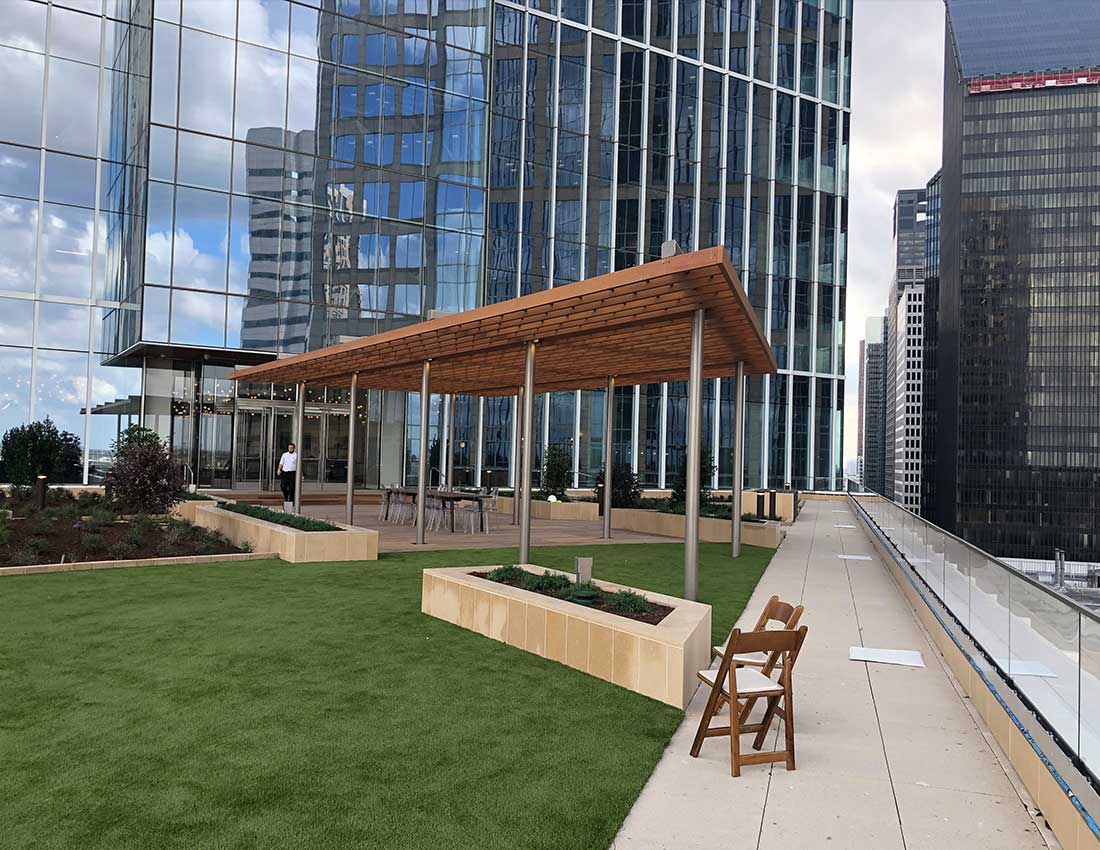
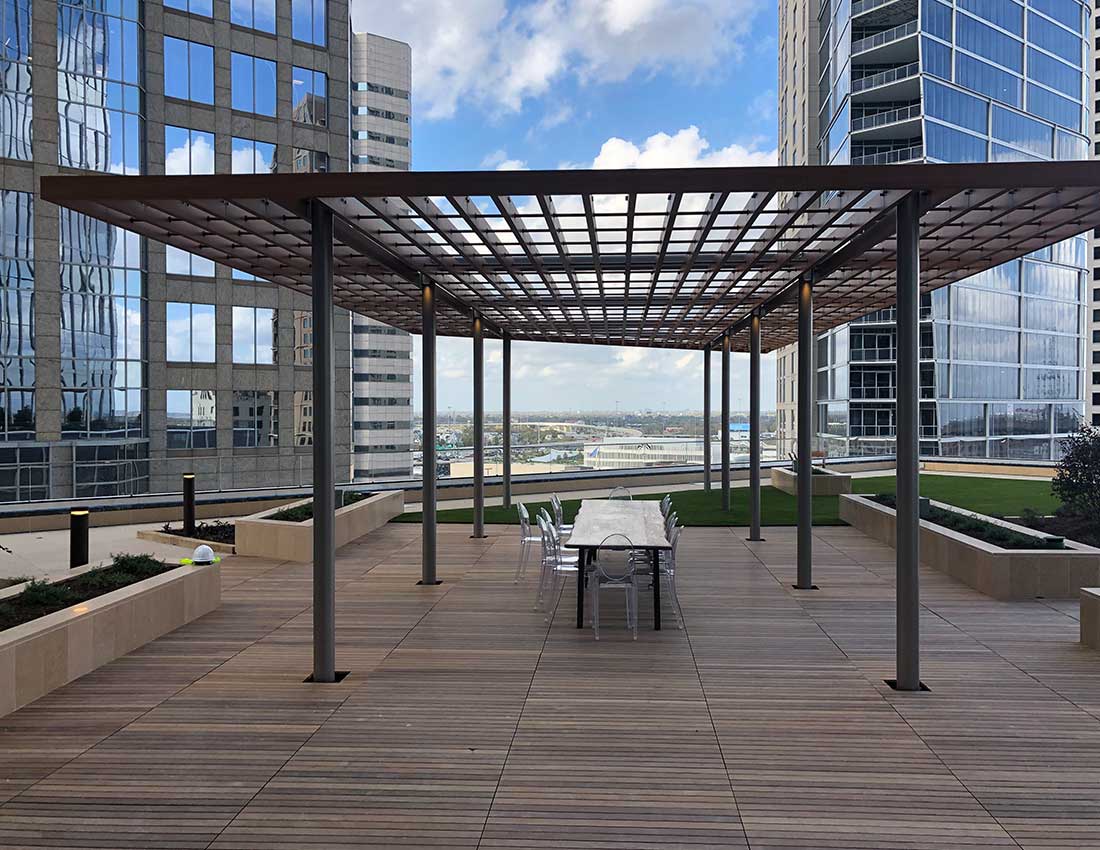
When people think of roof decks, they are typically envisioned from a green roof perspective. These types or roof treatments are usually categorized as intensive (more than 8” of soil) verses extensive (8” or less of soil). While this aspect is very important, as it will impact stormwater mitigation as well as the structure of the building, it does not typically lend itself to useable areas on the roof deck. The decision of how to incorporate accessible hardscape materials to the project has the same amount of impact to the building aesthetics and structure. As roof deck technologies have advanced, new materials have come available to bring these spaces to life. Designers now have material choices, at their disposal, ranging from concrete, stone, and porcelain pavers to artificial turf and decking systems.
INSTALLATION TYPES
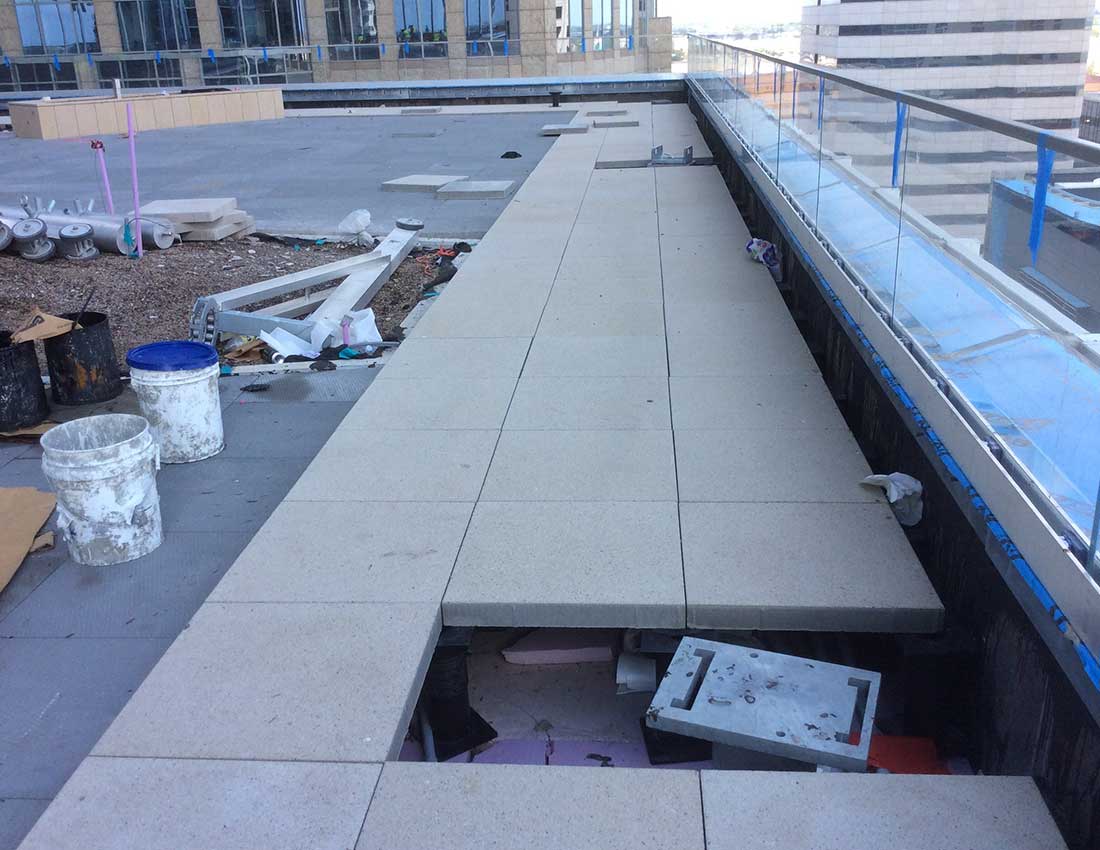
There are two main methods of designing hardscapes on roof decks. The most popular is utilizing pedestal supports. Pedestals allow the most flexibility during installation because they are a separate floating system on top of the roof structure. Many of these systems are adjustable in height from 1/8” up to 36”, can follow the slope of the roof structure up to ¼” per foot, and allow for visual concealment of utilities such as irrigation and roof drains. One of the downsides to this type of system is that they are labor intensive as the pedestals are typically placed on 2’ centers and each one needs to be adjusted manually to achieve the required elevation. In locations where uplift is a major concern, the hardscape must be locked down to the pavers which, depending on the paving system, can create a surface visual which can alter the aesthetic of the hardscape pattern.
The other common method of implementing hardscapes on a roof deck is to simply apply the paving material directly on top of the roof deck. Mortar setting pavers or pouring a topping slab on top of the water proofing allows for an easier installation and does not require additional support structure. With this method, coordination of the building roof and thresholds becomes integral with the roof deck design. More roof drains are typically required, and their locations become more critical. The additional drains are necessary to keep walking slopes within ADA accessibility tolerances and while still allowing proper draining. For good or for bad, the roof drains become an aesthetic feature in the design as they cannot be hidden and are often in large hardscape areas. Thoughtful patterning and placement can allow these drains to be incorporated into the design to minimize their visual impact and even enhance the overall design.
WATERPROOFING WARRANTIES AND HOW IT AFFECTS HARDSCAPE MATERIAL CHOICES
When incorporating a roof deck within a project, it is important to know what type of waterproofing system and warranty is desired by the owner for protecting against leaks or repairs. Most waterproofing companies offer two different types of warranties on the work performed. Choosing between a waterproofing warranty and a roofing warranty can make a large difference on the final aesthetics of the roof deck design and how a warranty claimed is resolved.
Waterproofing Warranty
A waterproofing warranty only covers the waterproofing itself and nothing that is designed on top of it. Because of this, it offers more choices for the designer to choose the pedestal system and hardscape material that goes on top. There is no limitation to a certain manufacturer or product because the warranty only covers the waterproofing. While this allows for more design freedom, it does put more of a burden on the building owner if a claim needs to be made. The building owner would bear the responsibility to have the paving and pedestal system removed for the waterproofing company to perform the warranty work and then consequently, would carry the burden to have these materials replaced.
Roofing Warranty
A roofing warranty covers the entire roof deck system from the waterproofing all the way up to the hardscape material on top. If a repair needs to be made the owner would call the waterproofing company and they would make any arrangements for moving materials out of the way to repair any leaks. This includes any pedestals, hardscape, and even planting systems. With this type of warranty, the pedestal system and material choices are typically limited based on the waterproofing manufacturer utilized for the roof. These predetermined manufacturers are partnered with the waterproofing company and make the warranty process as seamless as possible. As a designer you will need to contact the waterproofing company and see which manufacturers of pedestals and hardscape materials are available to choose from.
DESIGNING WITH FACADE ACCESS EQUIPMENT IN MIND
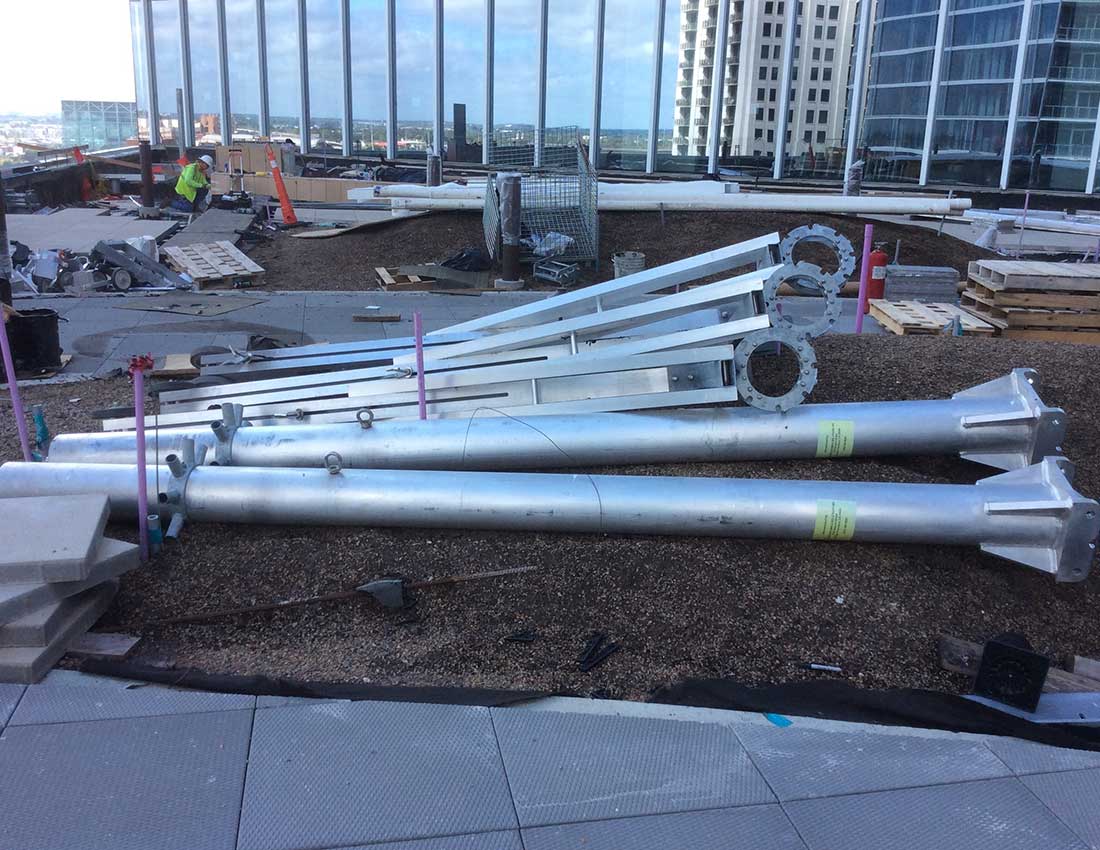
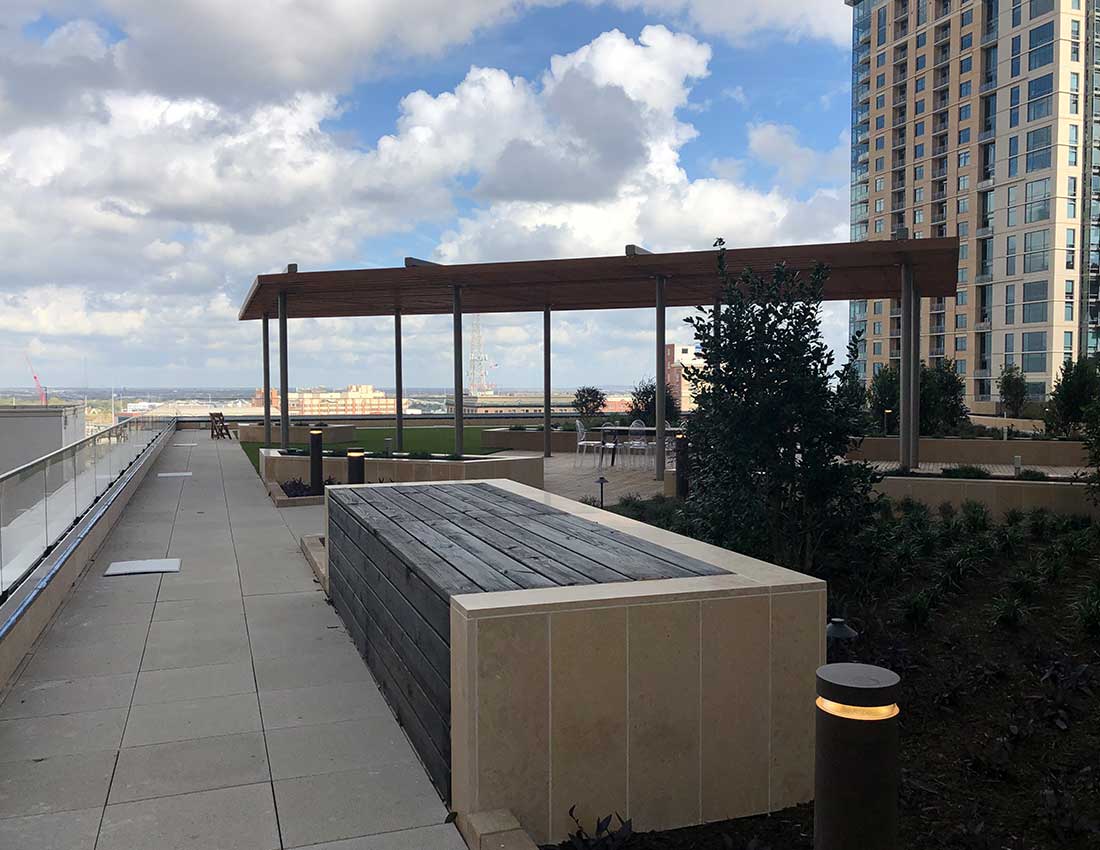
On larger buildings, where roof decks are often above the 4th floor, façade access equipment becomes another component that any design should consider. The building owner is going to want access for window washing and regular maintenance of the curtain wall or building exterior. A key component of accomplishing this is the use of davits. Davits are small portable cranes that lower a platform down the building façade. They are usually installed during routine maintenance and removed after work is completed. Adding davits to a project also adds other components, including davit pedestals, tieback anchors, and portable sockets, that will need to be accounted for in the design. Understanding the specific equipment and how it is used is just as important as understanding where the equipment will be located. A designer will need to provide a walkable surface for use of the equipment along with storage of the equipment when it is not in use.
Davit Pedestals
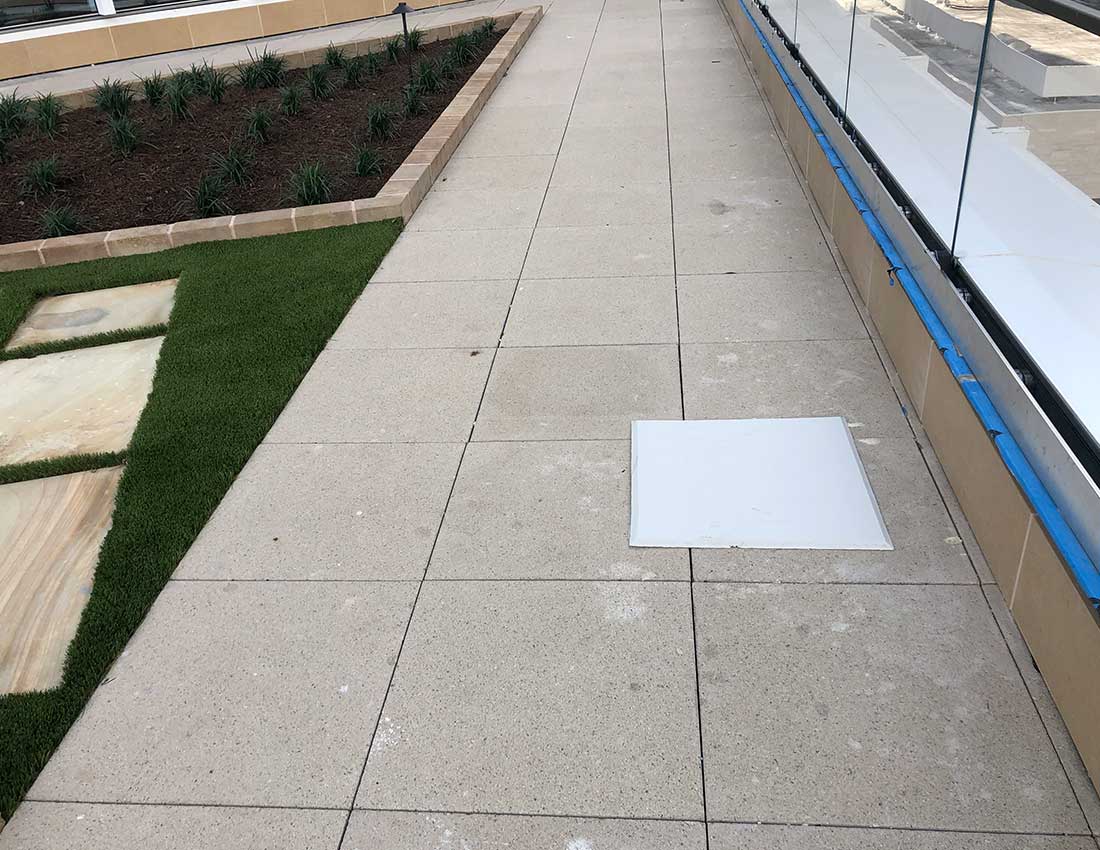
Davit pedestals are structural bases to support the davit and hoist platforms when in operation. They are located around the edge of the roof deck near the parapet. Access must be provided to these through a pathway or walkable surface. This typically leads to a design with a circulating path around the edge of the roof deck. If these end up in a main path of travel, they can become a tripping hazard and aesthetically unpleasing. A way to design around these is to conceal them with a removable cover plate that can be integrated into the walking surface. When the pedestal needs to be used, the cover plate can pop off and be set to the side. Another option is to design the paving design so that the pedestal will land in the center of a paver that can be removed. This is a lot more challenging as the pedestals are not consistently spaced and are often not perpendicular from the parapet wall. It also requires the façade maintenance company to remove a heavy paver every time they setup their davits. This information will need to be conveyed to the building owner because it will impact the regular maintenance of the façade.
Storage
In addition to the equipment required for regular maintenance is the need to store it locally on the roof deck. The equipment is typically very heavy and custom to each building. Removing these apparatuses off site or down to a different level in the building is very labor intensive and expensive. Most often the equipment gets left on the roof deck in a corner and becomes unsightly and a potential hazard. A good roof deck design incorporates the storage and concealment of the davit components and portable sockets locally on the roof. A way to do this is to incorporate hidden storage through permeant seating or creating a screen wall which can hide the equipment from everyday use. Knowing the size, type, and number of required units will be critical to design adequate storage spaces. Usually, a façade management access consultant will be able to provide you with this information. When designing storage for davits, one must keep in mind the equipment is extremely heavy and usually cannot be lifted into place. Typically, a davit is rolled to its position and back using the portable socket. This requires a storage compartment that has a removable door or gas spring hinge to hold the door open.
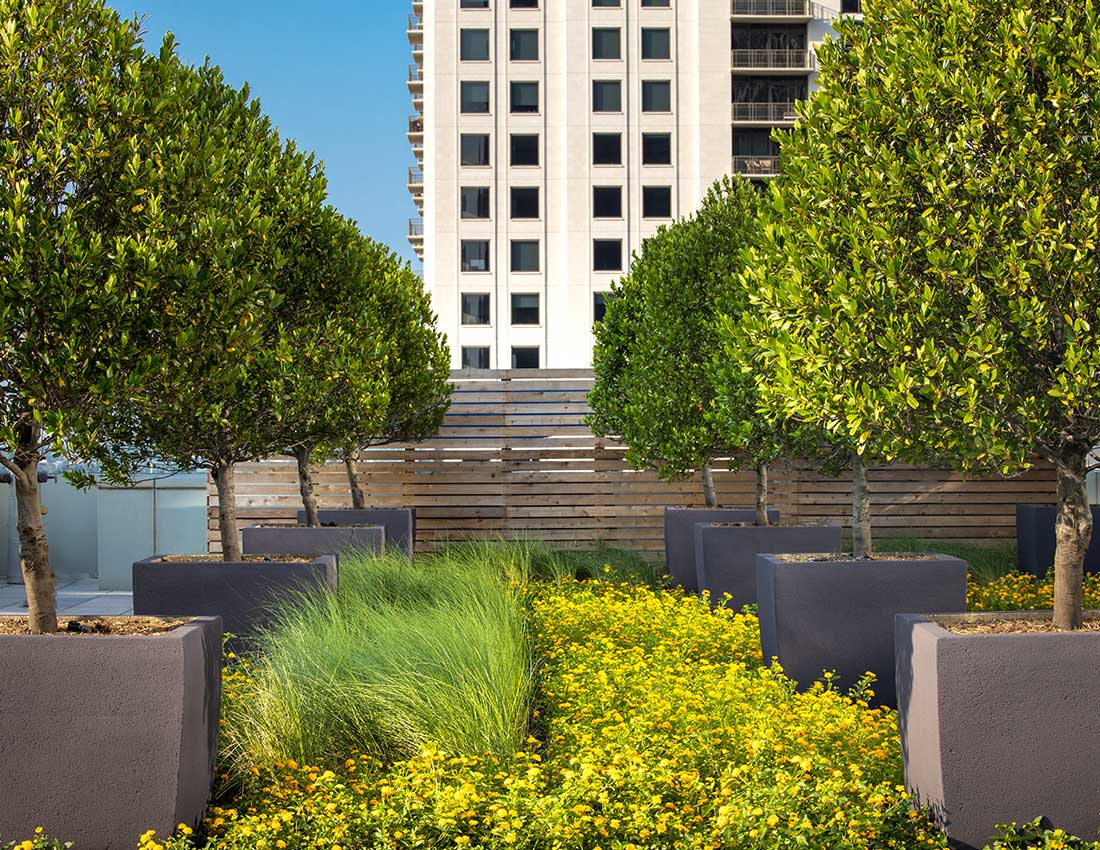
Roof decks have moved far beyond just being green. These spaces are often programmed to create inviting outdoor spaces that owners market to tenants as premium amenities. Careful consideration and planning are required so that the spaces are not only functional for the users but for the owners as well.
